Friday, October 28, 2011

Aloha Food Factory

I have no clue why this place is called a factory, because it's on the location of a renovated Taco Bell. Remember when Taco Bell locations used to look like brick mission-style places? Not all sleek and comteporary like they are now. Upon walking inside, you're greeted by one of the family owners. Service is a bit slow, but the Hawaiian culture is much more laid back and relaxed. Come when you're not in a rush!

boysenberry shaved snow

teriyaki chicken, eggs over easy, rice

chasiu pork, kaluha pork, eggs over easy, rice

macadamia nut pancakes

spam musubi

The macadamis nut pancakes and spam musubi were bomb-diggity! I can't believe I just typed/thought those words. The cream on the pancakes weren't too sweet, and I just wanted to keep scraping it off and eating it. Also, I've never had spam except in musubi format. The first time was at ShinSenGumi as part of their ramen lunch set and I was like "What is this salty magic?!" Now I eat spam musubi every chance I get. But I've never had regular spam - that's just gross. When it's in musubi, it's different.

Aloha Food Factory
2990 W Valley Blvd, Alhambra, CA 91803

Thursday, October 27, 2011

Book Club - Red Velvet Cake with Berries


One last dessert made for book club! It was Hanna's birthday a few weeks before book club (which is why a bunch of us had gone to New Orleans). She demanded asked for me to make her a cake for her birthday, and I was too scared to say no happy to accomodate her. After seeing a beautiful red velvet cake on Tuna Toast, I was excited to take on the challenge. Most people love red velvet cake, so it's hard to go wrong.


The recipe is on Epicurious but I made some tweaks to it, based on some of the user reviews. It came out fantastic - moist, cocoa-y and not to sweet at all. My manager even declared it was the best red velvet cake she ever had.

Red Velvet Cake with Berries
adapted from Epicurious and Tuna Toast

2 1/4 cups sifted cake flour (sifted, then measured)
4 Tbps unsweetened cocoa powder
1 tsp baking powder
1 tsp baking soda
1/2 tsp salt
1 1/3 cup buttermilk
1 Tbps red gel food coloring (add more if batter isn't red enough)
1 tsp distilled white or apple cider vinegar
1 Tbps vanilla extract
1 1/2 cups sugar
3/4 cup (1 1/2 stick) unsalted butter, room temperature
2 large eggs

2 8-ounce packages cream cheese, room temperature
1/2 cup (1 stick) unsalted butter, room temperature
1 Tbps vanilla extract
2 1/2 cups powdered sugar

Fresh raspberries, blueberries and strawberries

Preheat oven to 350°F. Butter and flour two 9-inch-diameter cake pans with 1 1/2-inch-high sides. Sift sifted flour, cocoa powder, baking powder, baking soda, and salt into medium bowl. Whisk buttermilk, food coloring, vinegar, and vanilla in small bowl to blend. Using electric mixer, beat sugar and butter in large bowl until well blended. Add eggs 1 at a time, beating until well blended after each addition. Beat in dry ingredients in 4 additions alternately with buttermilk mixture in 3 additions.

Divide batter between prepared pans. Bake cakes until tester inserted into center comes out clean, about 27 minutes. Cool in pans on racks 10 minutes. Turn cakes out onto racks; cool completely. Start checking the cake at the 23 minute mark - you don't want a dry cake. Test with a toothpick and if it comes out clean, take the layer out immediately. One of my layers took 10 minutes longer to bake than the other layer.

For frosting, beat cream cheese and butter in large bowl until smooth. Beat in vanilla. Add powdered sugar and beat until smooth. Use more sugar if you need the frosting to be thicker, but it should remain pretty soft and spreadable.

Place 1 cake layer, flat side up, on platter. Scoop out 1 cup frosting and mix it with some finely chopped strawberries. Spread the strawberry frosting over top of cake. Top with second cake layer, flat side down. Spread one thin layer of frosting all over cake; refrigerate for 30 minutes. This is the "crumb layer" which prevents crumbs from spreading all over the rest of the cake when you frost it (thanks for the tip, Tuna Toast!). After 30 minutes, remove cake from refrigerator and spread remaining frosting over top and sides. Arrange remaining berries decoratively over top of cake.

Can be made 1 day ahead. Cover and refrigerate. Let stand at room temperature 1 hour before serving.

Wednesday, October 26, 2011

The Great Food Blogger Cookie Swap


I never post twice in one day, but I just signed up for a cookie swap hosted by Love & Olive Oil and The Little Kitchen. I'm so excited! I know that my blog is only a few months old and maybe I'm not good enough to play in the major leagues with the big boy/girl bloggers but I'm excited at the prospect of sending out some cookie love. And receiving three one-dozen returns.

Plus what makes this more exciting is that it is the 1st Annual Great Food Blogger Cookie Swap. Key words FIRST ANNUAL. So I can be participating in this from the beginning of when it was conceived. Sign up here if you want to participate!

Book Club - Salted Caramel Madeleines

Madelines are perfect with coffee, but I haven't had very many of them before except occasionally at Starbucks. I know, blasphemy. However, when I saw a recipe for salted caramel madeleines on Gourmand Recipes, I knew I had to try it immediately. I've been following Ellie since she had up her Almost Boudain site, and though she is now working on this new project, I'm still a huge fan of her recipes and writing.


Little did I know that madeleines would cause me as much grief as French macarons (that is a story for another time). I baked three batches of them, and were so disappointed in the first two because they would not hump. Get your mind out of the gutter. See the humps I am referring to below. They make the cookies look like little hills before they are popped out of the madeleine pan.


After failing a couple times to produce adequate humps, I figured out through thorough internet research that the folding technique is very important. The recipe on Gourmand Recipes does not detail any folding techniques, but I gathered that it was basically the same as the macarons - gentle folding, careful not to deflate the batter and VERY careful not to overfold. Overfolding is my downfall.

After the third try, just in time for Book Club, the madeleines came out perfect. I jumped and clapped and dragged Boyfriend over to the oven where I made him look-at-slash-admire the humps. Poor guy.


Salted Caramel Madeleines
adapted from Gourmand Recipes
Makes 12 madeleines

1/2 cup flour
1/2 tsp baking powder
1 large egg, room temperature
1/4 cup sugar
1/2 tsp vanilla extract
1/4 cup salted caramel sauce - I used one large spoonful of Dark Chocolate Sea Salt Caramel sauce from Sur La Table
1/2 stick butter, melted and cooled slightly

Preheat the oven to 425 F. Lightly the butter and flour a 12-tin madeleine pan. Make sure you get in all the grooves, otherwise the madeleines will tear while being pried out of the pan. Sift the flour and baking powder together and mix well.

In a stand mixer, combine the egg and sugar; beat on high speed for about 3-5 minutes. This ensures a lot of air gets incorporated into the batter, which makes for a lighter madeleine. Add vanilla extract and and mix until blended. Add vanilla extract and and mix again.

Pour mixture into a large bowl. Add 1/3 of the sifted flour mixture and with a large rubber spatula, fold the flour just until it is barely incorporated. Scoop the mixture up from the bottom to the top usng big sweeping motions, lifting the batter to make sure nothing is deflated. Repeat two more times, adding 1/3 of the flour mixture each time. Make sure you are not overfolding. Just incorporate gently with large folding motions just until the flour disappears.

Add the melted butter in around the edges of the bowl. This part is a bit tricky, since the liquid is hard to fold on without overfolding. Use the same sweeping motions to incorporate the butter, and stop as soon as possible to not deflate the batter. Remember to scoop from the bottom to the top. Let the batter rest for 20 minutes.

Place the batter in a pipping bag and pipe the batter into the buttered and floured madeleine pan. You may also just scoop it with a spoon, but the piping method is a lot cleaner and ensures that the batter will be evenly distributed. You don't want to handle the batter too much by having to re-distribute in the end.

Bake in the preheat oven for 7-10 minutes. Keep a close eye on them, and take them out as soon as the edges turn golden or darker. Overbaking leads to a dry madeleine!

Tuesday, October 25, 2011

Book Club - Momofuku Pork Buns


Ahh Momofuku Noodle/Ssäm/Ko. I generally don't believe in bastardized/fusion/Americanized Asian foods. Not that Momofuku is any of these things, but they have a certain more-expensive-high-end side compared to the cheap eats that I grew up with and love from the San Gabriel Valley. I mean, my parents think Din Tai Fung is kind of pricey, for heaven's sake. And it's only $8 for 10 xiao long bao (juicy pork dumplings). When I went to Taiwan in June, my Third Uncle took me to a random roadside stand with six stools that made dumplings that were WAY better than Din Tai Fung. And they were like $1.50 for 10 of them! Crazy ... I suppose if you grew up in Hong Kong or Taiwan, you'd think the Chinese food in America is way expensive. But I digress.

I first visited Momofuku Noodle Bar in September 2009 with Jennifer. Neither of us really knew how popular a place it was, but I think my cousin Maggie wanted us to bring her back some ramen? We waited an hour and then ordered these buns and bowls of ramen. The slow-poached egg in the ramen was the best egg I've ever eaten in my life, although the ramen itself was a bit salty. Too much pig parts, I suppose (shoulder, belly, broth). But these buns were SO good ... fatty, melty and fluffy. Even Jennifer, who doesn't like pork, proclaimed she could eat more of these. That's saying a lot.

Quick Pickles

3 Kirby or Japanese cucumbers
1 Tbsp sugar
1 tsp salt

Slice cucumbers into 1/4" thick rounds. Toss with sugar/salt and let marinade for 15 minutes. Taste the pickles; if they are too salty or sweet, rinse off the seasoning and season again according to taste. May keep in refrigreator for up to 4 hours.

Pork Belly Buns

1/2 cup kosher salt
1/2 cup sugar
3 lb pork belly, as thick as you can get it
Quick Pickles
Chopped green onions
Steam buns, found in the refrigerated section of Asian grocery stores or you can make your own from David Chang's recipe

Mix together the salt and sugar in a small bowl. Remove the skin on the pork belly, if there is any. The Asian grocery store gave it to me skin on, but it can be sliced right off with a sharp knife. Slather the sugar/salt misture all over the pork belly and put it in a container that will fit the pork belly snugly. Refrigerate at least six hours or overnight.


The next day, the pork will be very juicy in the container. Preheat oven to 250 F. Drain the liquid. Transfer pork belly to a baking vessel that will hold it snugly. Cover tightly with aluminum foil and slow roast the pork belly for three hours. After three hours, remove the foil, baste the belly with the rendered fat and crank the temperature up to 425 F. Roast for another 20-30 minutes, until the top of the pork belly is a deep, rich brown. The meat should be pillow-y soft to the touch, but not falling apart. Remove pork belly to a plate to cool slightly.


Drain all the fat/juices into a measuring cup. After an hour or so, skim off the fat that has floated to the surface. You may keep it for making pancakes, potatoes, or other David Chang recipes. The brown juices at the bottom are delicious pork juices. You may freeze them for another use, basically whenever you want something to taste nice and porky/smoky. Wrap pork belly in several layers of aluminum foil and chill thoroughly. If it is not fully chilled, it will not cut into nice slices.


To assemble, let pork belly come to room temperature. Heat a frying pan over medium heat. Warm up the pork belly slices by letting them sear in the pan a minute or two on each side, until they become tender and soft. Steam buns on stove or in microwave. Open bun and squirt hoisin sauce on one side, lay a slice of pork belly down on the other. Sprinkle some green onion on the hoisin sauce and lay on a few slices of quick pickle. Close bun and enjoy.

Monday, October 24, 2011

Book Club - Homemade Wontons

Book club! A group of us girls get together once every few months with the excuse of reading a book (which we do by the way, there are very strict rules in book club) but we basically spend a lot of time eating. And playing with puppies. We read a variety of books, from The Last Song to Native Speaker to Ender's Game. This time it was my turn to host. I chose the book "Battle Hymn of a Tiger Mother" so we could read about practicing piano for 12 hours a day and then use each other in a counseling session about our own crazy moms. It was very therapeutic.

It was also the first real party I hosted in my apartment since moving in almost exactly one year ago. I've had people over, but those were just one off visits with one or two people at a time, and not actual events. Needless to say, I pulled out all the stops for book club brunch.

homemade wontons

Momofuku pork belly buns

roasted curry cauliflower and broccoli

arctic surf clams with ginger, green onion, chili oil

salted caramel madeleines

red velvet cake with berries

Grandma ChouDown's Wontons
as many as you want to wrap

2 lbs twice ground pork front shoulder*
1 egg
1/4 cup water
1 Tbps minced fresh ginger
1 tsp ground white pepper
1 tsp kosher salt
3 packages wonton wrappers, room temperature**
Chopped green onion

Place pork in a large bowl and crack in egg. Using your hand, squeeze meat together with egg until well blended. Slowly drizzle in water, while continuing to mash with your hand. Add in ginger, white pepper and salt. Take four wooden chopsticks and stir everything together in a clockwise motion until everything is well combined. The hand blending is very important, as it really tenderizes the meat and makes them soft in the wontons. Making Grandma ChouDown's wontons are not for the faint of heart!

Lay out a wonton wrapper and put one teaspoon of meat in the center. Fold as many wontons as possible and place them one by one on a baking sheet as you go along. They may be cooked fresh or frozen on the baking sheets. After two hours, pop the wontons off and keep them in the freezer in large Ziploc bags. They can be dropped straight into boiling water from the freezer - good for quick meals.***

Bring a large pot of water to a hard boil. Swirl the water clockwise with a ladle, then drop in the wontons. Swirling keeps the wontons from sticking to each other as they plop in. Cook for 2-3 minutes; the wontons are done when they float to the surface of the water. Serve one of these ways. The great thing about this is that everyone can have the wontons the way they prefer it.

(1) Place at the bottom of a bowl a bit of ground white pepper, chicken boullion powder, soy sauce, sesame oil and shredded dried seaweed. Ladle in wontons and about 1 cup of cooking water or chicken broth (omit chicken boullion if using chicken broth); mix well. Top with green onion and serve.

(2) Place at the bottom of a bowl a bit of soy sauce, sesame oil and lots of chili oil ("la yau"). Drain wontons briefly and ladle into bowl; mix well. Top with green onion and serve.

* I asked for "front shoulder meat" in Chinese at the Asian grocery store and the butcher got me "cushion meat" from the display case. I think that's the translation? They will run the pork through the grinder twice if you ask them to.
** Make sure the wonton wrappers are at room temperature. I like Hong Kong brand, which is in pink packaging. Do not buy dumpling or potsticker wrappers, which are thicker.
*** You can fold your wontons into any shape you want. I'm sure there are plenty of Google videos. Some people just like to scrumch the tops. I make mine in "nurses hat" shapes because that's what my Grandma taught me. They look so cute all lined up like that.


Recipes for other dishes to be posted this week!

Friday, October 21, 2011

Bar + Kitchen


I didn't get many opportunities to squeeze in DineLA lunches since we were in the most hectic time of the year ... budget time. It's the absolute worst. Emergency revisions, a new budgeting system, a glitchy new report generating platform - everything that can conspire to make this process headache-inducing basically happened. Ahh I remember managers threatening to walk out of the company, staying in the office until 3am to finish up reporting, crying out of sheer frustration. Good times!

kale and tuscan white bean soup, parmesan

crispy pork belly, plum puree, spicy pickled sunchokes

baby beet & arugula salad, maytag blue cheese, pomegranate vinagrette

shrimp & grits, spanish chorizo ragout

roasted jidori chicken, brussel sprouts, apples, grapes, walnut vinagrette

peanut butter chocolate cake, peanut brittle, banana ice cream

butterscotch pot de creme, whipped cream, shortbread cookies

We managed to grab a time slot at Bar+Kitchen on the last day. Great reviews on Yelp and the manager told us that they had 70 reservations booked for lunch that day. But everything seemed to run pretty smoothly. The DineLA menu showed the butterscotch pot de creme with sea salt, but when we got there, there was no sea salt listed on the description. I guess they changed the dessert at the last minute. Thwarted with the dessert+salt combination again! Curses!

I wish I was able to try the dinner menu as well. They had an app on it called "proscuitto wrapped foie gras butter" ... what?! Do they mean terraine? Or just straight-up butter?

Bar + Kitchen (O Hotel)
819 S Flower St, Los Angeles, CA 90017

Thursday, October 20, 2011

The Walking Dead S2E1 - Bucatini with Clams, Fennel, White Wine and Thyme Breadcrumbs


Ahh The Walking Dead. I hope everyone out there watches this show. I watch a variety of shows such as Top Chef, Gossip Girl, The Vampire Diaries, Glee, Mad Men, Boardwalk Empire, Revenge and American Horror Story ... but this is the ONLY show that Boyfriend and I make time for together - and most importantly, in real time. We do watch other shows together such as Community, Parks & Recreations, 30 Rock, Game of Thrones, and Terra Nova, but these are often a taped/downloaded recording since I'm basically hogging all the prime TV time for my shows.


The much anticipated season 2 of The Walking Dead was broadcasted Sunday night on AMC. Did you watch? If not, you can even catch up on season 1 very quickly - it was only six episodes. I guess they didn't commission an entire season because they didn't know how viewers would respond. Needless to say, it was a smash hit, especially to followers of the graphic novel (umm like Boyfriend). Since we had just wrapped up a whirlwind week of car shopping, more car shopping and then car purchasing, I busted out dinner from the Sunday Suppers at Lucques cookbook. As you can see from the top picture, I put dinner on the [coffee] table with 1 minute 10 seconds to spare. Woot for me!


Bucatini with Clams, Fennel, White Wine and Thyme Breadcrumbs
adapted from Sunday Suppers at Lucques
Serves 6


1 1/2 cups fresh breadcrumbs
2 1/2 cup plus 2 Tbps extra-virgin olive oil
2 Tbps fresh thyme leaves
1/2 sprig rosemary
2 chiles de arbol, plus 1 teaspoon sliced
2 cups red onion, diced
2 cups fennel, diced
2 bay leaves, preferably fresh
1/4 cup thinly sliced garlic
1 lb bucatini, spaghetti or linguini
3 lb Manila clams
3/4 cup dry white wine
4 Tbps unsalted butter
1 lemon
1/2 cup parsley, chopped
Kosher salt and freshly ground black pepper

Preheat the oven to 375 degrees F.

Clean the clams by placing them in a large bowl filled with cold water for 10 minutes. Add a small handfull of cornmeal or a splash of milk to encourage them to spit out any sand. Every few minutes, give the clams a stir. Drain and return to the bowl.

Combine breadcumbs and 1 tablespoon thyme; drizzle with 2 tablespoon of olive oil. Using your fingers, toss the breadcrumbs to evenly coat with the oil. Place in the oven and bake for 8 to 10 minutes, stirring once or twice, until golden brown.

Bring a large pot of water to a boil.

Meanwhile, heat a large dutch oven over high heat for two minutes. Pour in 1/2 cup olive oil, toss in the rosemary sprig and crumble in the 2 chiles de arbol with your fingers. Let them sizzle in the oil for 1-2 minutes and then turn down the heat to medium. Add the red onion, fennel, bay leaves and remaining tablespoon of thyme. Season with 2 teaspoons of salt and several grindings of black pepper. Cook for 5 minutes, stirring often. Add the garlic and continue to cook for another 3-4 minutes until the vegetables are translucent and soft.

Once the water is at a hard boil, season with salt and drop in the pasta.

Add the cleaned clams to the vegetables and stir to coat well. Pour in the wine and cover the pot. Cook until the clams open, about 5 minutes or so. After a couple minutes, lift the lid, gently stir the clams to help redistribute the heat, and re-cover the pan.

When all the clams have opened, remove the pan from the heat and use a slotted spoon to transfer the clams to a large bowl or rimmed baking sheet. Discard any clams that haven't opened. Remove half the clams from their shells (this step may be skipped).

When the pasta is al dente, reserve one cup of the pasta water, and then drain the pasta. Return the dutch oven to medium-high heat, and add the pasta to the vegetables, tossing the noodles well. Cook 3-4 minutes to reduce the juices and coat the pasta. If the pasta seems too dry, add some of the reserved pasta water (I did not have to do this). Stir in the butter, a big squeeze of lemon juice, the sliced chile, clams, parsley, 1/4 teaspoon of salt and a couple grindings of black pepper. Toss well and taste for seasoning.

To serve, pile the pasta into a large bowl/platter and sprinkle with the breadcrumbs.

* You can play according to your tastes, but I was able to cut back on the olive oil about 30% (for example, using 1/3 cup olive oil to cook the veggies in instead of 1/2 cup). The resulting pasta was still extremely flavorful and not dry at all, so use your own descretion. At least olive oil is good for you!
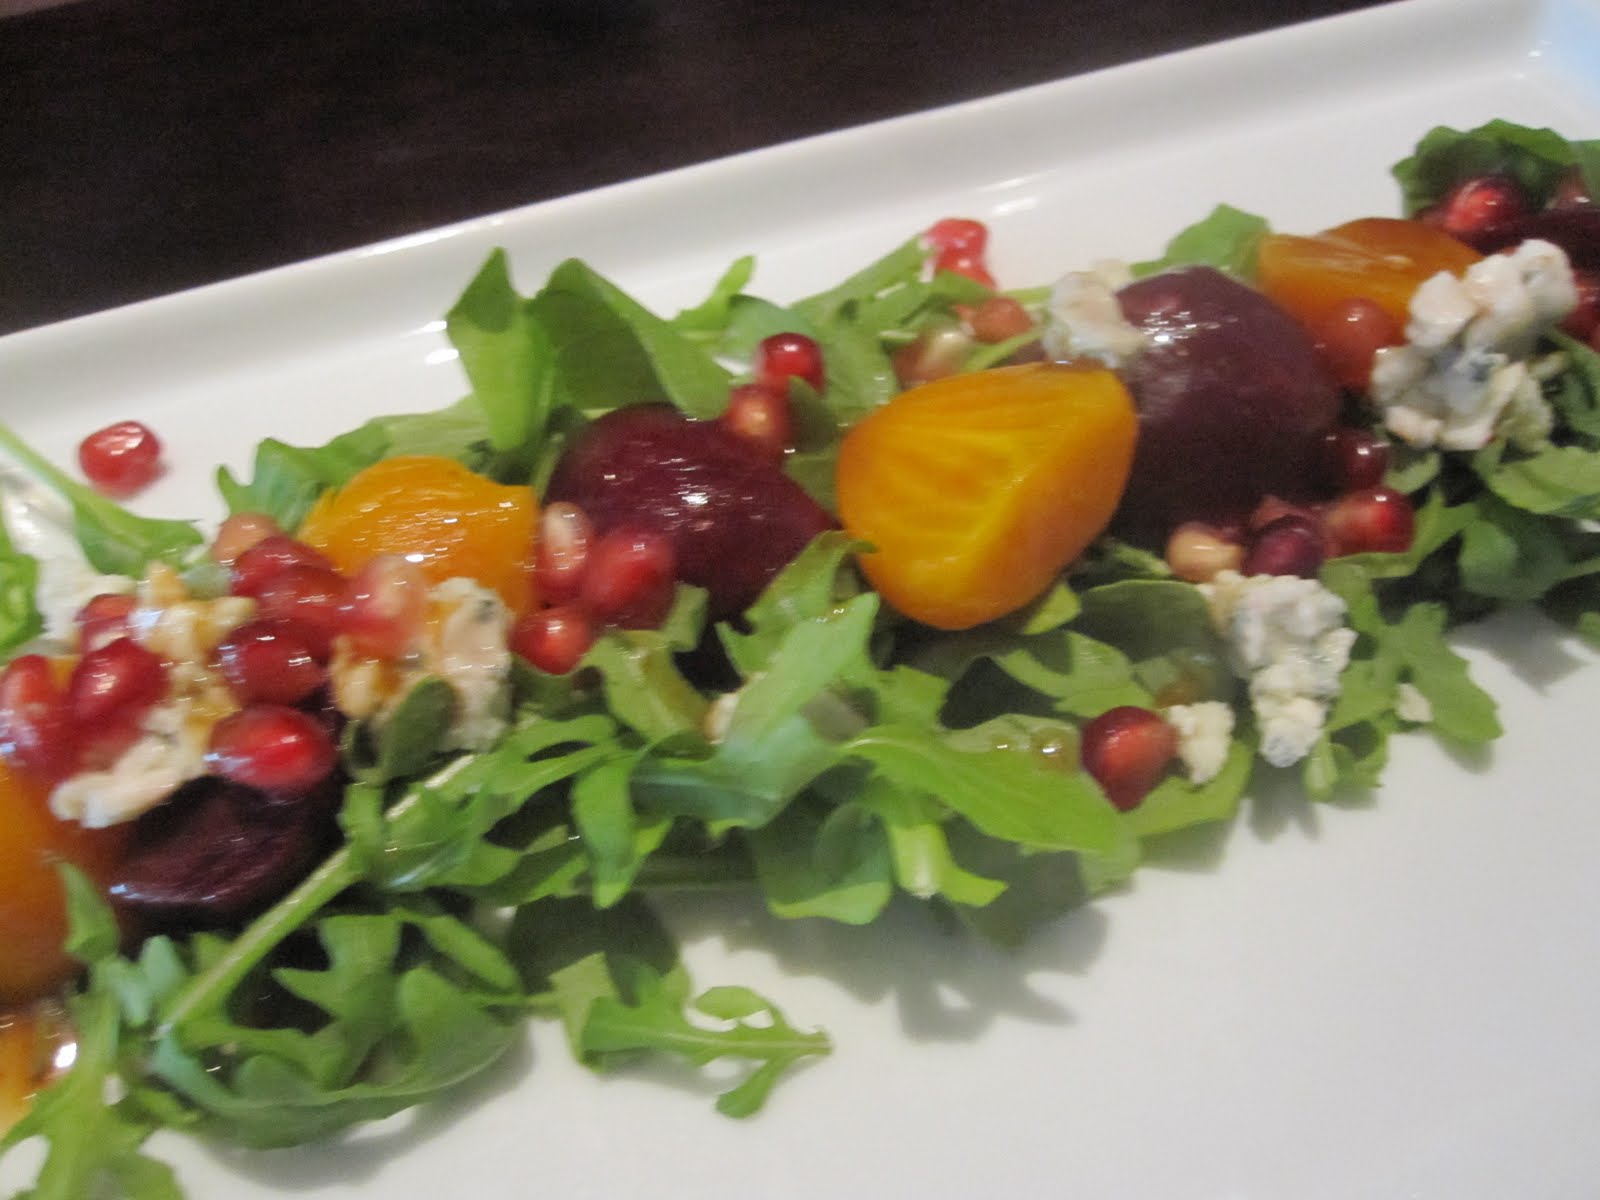

Summer Fruit Salad
Serves 6

9 figs
1 ripe peach
1 ripe nectarine
1 ripe plum
1/2 cup blackberries (I used raspberries)
8 oz arugula
1/3 cup Marcona almonda

Dressing
2 Tbps minced shallot
2 Tbps sherry vinegar (I used red wine vinegar)
1/2 tsp salt
3 figs
6 Tbps exta virgin olive oil

Combine shallot, vinegar and salt in a small bowl; let stand for 10 minutes. With a mortar and pestle, pound the figs into a paste. Combine with shallot/vinegar mixture. Whisk in the olive oil to make a dressing. Taste for balance. I had to add in a bit of sugar for the acidity.

Half the figs. Cut the peaches, nectaries and plums in half, remove the pits and slice into 1/4" thick slices. Combine all the fruit in a large bowl and drizzle with half the dressing, some salt and some fresh ground pepper. Toss very gently. Add the arugula, some more salt and fresh ground pepper and toss gently again. Add enough dressing to coat the fruit and arugula. Scatter almonds over (I skipped this part) and serve on a large platter.

Wednesday, October 19, 2011

The Bazaar by José Andrés


I've been dying to try The Bazzar for forever and all those raves and photos on my Twitter stream a couple weeks ago was more than I could bear - I finally buckled down and grabbed a last minute DineLA reservation. Plus, I thought the molecular gastronomy concept was something that would really interest Boyfriend. The deal they offer is really good - one appetizer, three entrees and one dessert per person for $44. We added on a couple extra items that looked especially good.

From the pictures, you can tell we were obviously seated in the Roja room. I think the Blanco room would have been a great backdrop for pictures!

"Philly cheesesteak" - air bread, cheddar, wagyu beef

tortilla de patatas "new way" - potato foam, egg 63, carmelized onions

japanese taco - grilled ell, shiso, cucumber, wasabi, chicharron

jicama wrapped guacamolé - micro cilantro, corn chips

organized caesar - quail egg, parmesan


jamón serrano fermin with pa'amb tomaquet Catalan style - dry cured ham, toasted bread, Manchego, tomato

sautéed shrimp - garlic, guindilla pepper

seared scallops - romesco sauce

butifarra senator moynihan - Catalan pork sausage, white beans, mushrooms

cotton candy foie gras

Everything was very good to outstanding - the only exception being the Catalan pork sausage. It was still good, but just didn't have the wow factor the other dishes had. The jamón serrano fermin ($28 on the regular menu) was amazing, especially when eaten on top of the tomato bread. Boyfriend was a huge fan of the jicama wrapped guacamolé, saying that was just how guacamole should taste. I wish we had gotten more proteins though - but the menu was extremely extensive. If you order properly, the DineLA menu can save you lots of skrilla - so be sure to order the jamón serrano fermin!

After our dinner, we were asked if we wanted to take dessert in the Patisserie. This tactical move is brilliant, in my opinion - it opens the table up again for other diners, and lets people linger after dessert for as long as they want to without the pressure of future diners breathing down their necks. Bravo on this well executed idea. The patisserie also was where we met up with Lyzetth, who I was introduced to by WeezerMonkey via Twitter. We all share a common bond through food and ... The Vampire Diaries? We need to arrange a meetup as soon as possible to ... eat food and talk about The Vampire Diaries! Luckily, Boyfriend wasn't too weirded out when a random couple came up to our table and said tentatively "... Are you [twitter handle]?" Yay!


chocolate heart - coffee, cardamom

greek yogurt panna cotta - apricots, muscat gelatin


Don't these bears look all hug-able and squishy? There are a lot of things for sale and on display around the Patisserie as well - like these bears and the skulls at the top of the post. José Andrés seems to have some sort of obsession with skulls. But don't let that deter you from his food! This could easily be a DineLA tradition.

The Bazaar by José Andrés
465 S La Cienega Blvd, Los Angeles, CA 90048